敢死炮走法棋谱

我国象棋:布局骗招--破解敢死炮的方法解析.doc
图片尺寸993x1404
最新敢死炮走法
图片尺寸720x1280
象棋敢死炮第二招"引蛇出洞"用法
图片尺寸500x614
棋谱,象棋残局破解,象棋教学,街头象棋,弃马十三招,沿河十八打,敢死炮
图片尺寸1080x810
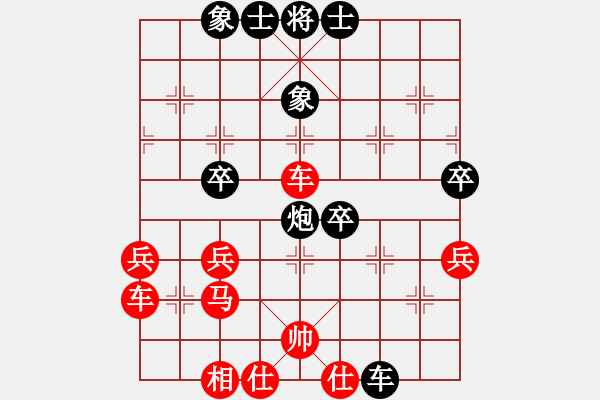
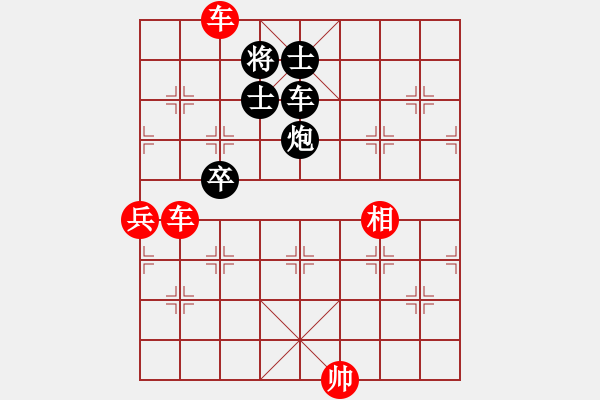
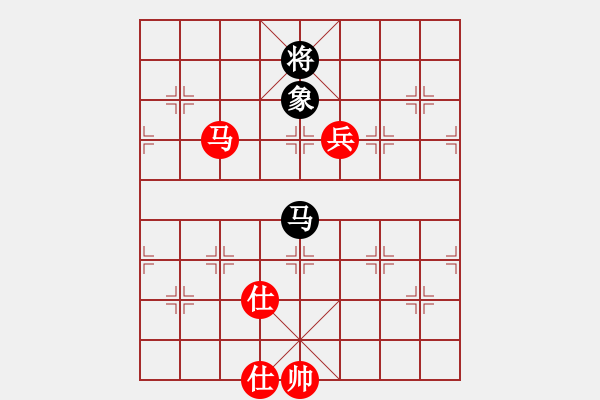
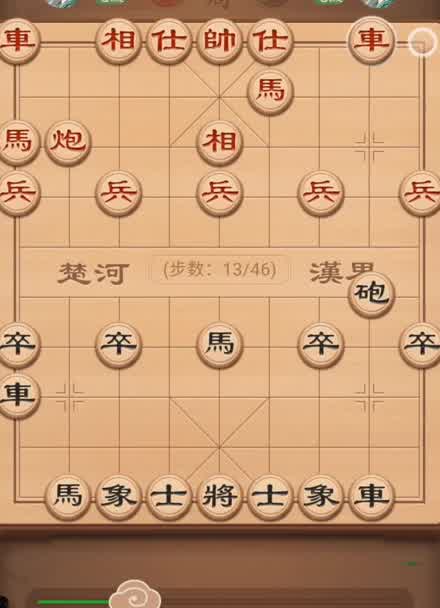
象棋棋谱图片:敢死炮布局42 - 步数:40
图片尺寸600x400
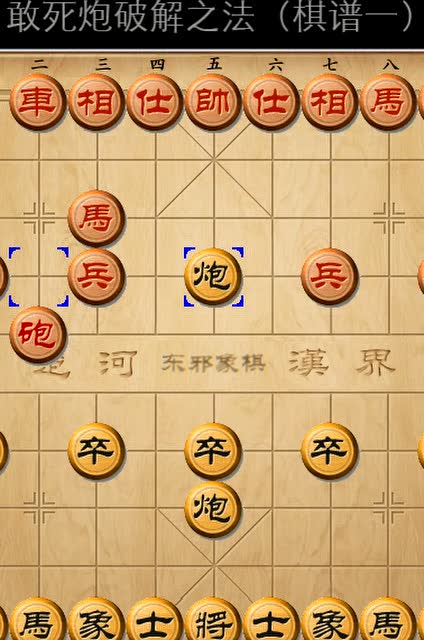
(微信订阅号:东邪象棋)敢死炮 破解之法(棋谱1)
图片尺寸424x640
象棋棋谱图片:敢死炮布局42 - 步数:87
图片尺寸600x400
敢死炮的走法
图片尺寸231x292
象棋棋谱图片:敢死炮布局31 - 步数:30
图片尺寸600x400
象棋棋谱图片:敢死炮vs业5 - 步数:160
图片尺寸600x400
象棋棋谱图片:后胜网络棋手(敢死炮) - 步数:130
图片尺寸600x400
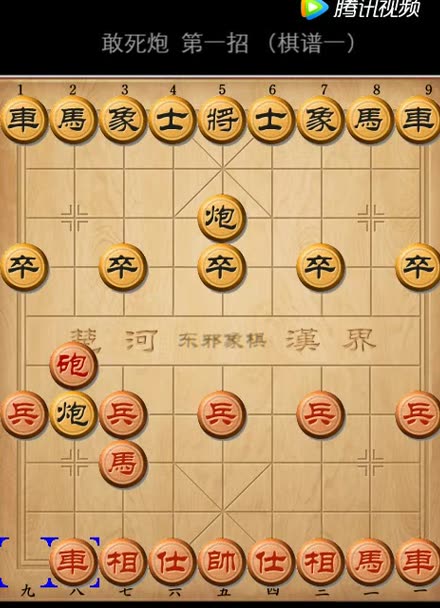
(微信订阅号:东邪象棋)敢死炮 第一招(棋谱1)
图片尺寸440x608
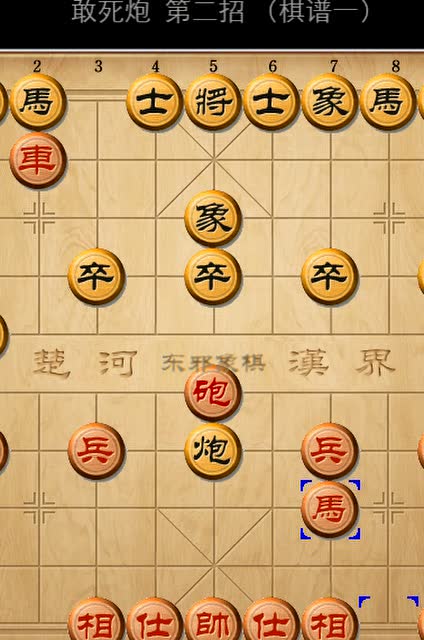
(微信订阅号:东邪象棋)敢死炮 第二招(棋谱1)
图片尺寸424x640
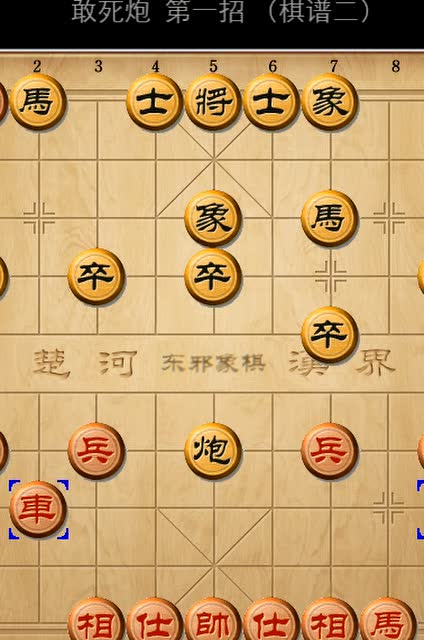
(微信订阅号:东邪象棋)敢死炮 第一招(棋谱2)
图片尺寸424x640
「出洞无敌」实战棋谱-后手敢死炮对方不吃炮变招
图片尺寸440x608
中国象棋实战 b>敢死炮走法 /b>投石问路
图片尺寸640x360
棋谱,象棋残局破解,象棋教学,街头象棋,弃马十三招,沿河十八打,敢死炮
图片尺寸1080x810
敢死炮,一次抛光的走法
图片尺寸480x270
难道走个敢死炮,对方居然不理我
图片尺寸976x546
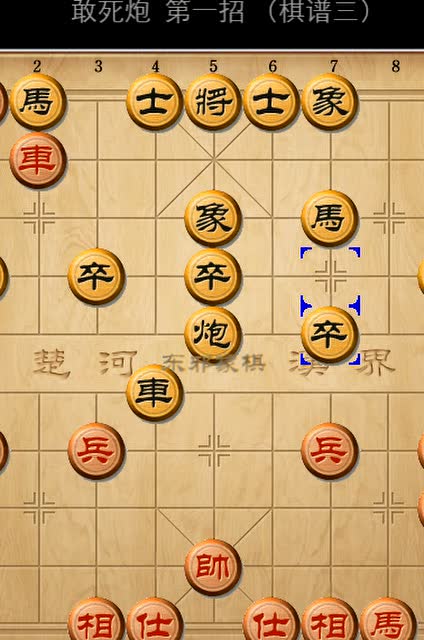
(微信订阅号:东邪象棋)敢死炮 第一招(棋谱3)
图片尺寸424x640